


How to make (etch) pad printing plates
The pad printing plate holds the artwork for printing. For this reason, the pad printing plate is one of the critical components of the pad printing process. The etched image holds the pad printing ink, which is transferred to the part using a silicone pad printing pad.
The types of printing plates are:
- Laser-engravable plates
- Photopolymer pad printing plates
- Thick steel plates
- Ceramic pad printing plates.
We will focus on laser-engravable plates and photopolymer plates because these are the most common types.
Laser-engravable plates require either a CO2 laser or a fiber laser. On the other hand, photopolymer plates utilize light (UV) to harden the unexposed area. After the plate is exposed, the unexposed area is washed off either with plate developer or water.
There are advantages to both photopolymer and laser plate-making methods. Laser plate making offers time-saving benefits and repeatability, while photopolymer plates offer high quality and initial cost effectiveness.
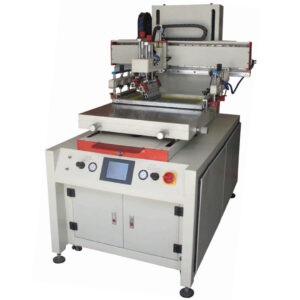
Photopolymer plate making
Photopolymer cliché making requires an exposure unit (light source), plates, film positive, water or plate developer, wash-out brush, dryer, and oven. Making photopolymer plates requires patience, attention to detail, and time—it is an art.
Step-by-step guide on how to make a polymer plate
- Print the image on a film positive
- Spray the film positive with toner to darken the image. A dark image blocks light from reaching the photosensitive cliché.
- Cut the film positive to fit the pad printing plate.
- In a “dark” room, remove the protective film from the plate and place the film on top of the plate. Make sure to place the film correctly on the plate.
- Once the plate is on the film, place the plate on the exposure unit. Expose the plate for one minute.
- Remove the film from the plate. Now, place a screen film.
- Put the plate back in the exposure unit.
- Expose the plate for an additional minute.
- Remove the plate from the exposure unit and wash it with plate developer for about 1 minute. Rinse the plate with water.
- Dry the plate, and then put it in the drying oven for 10 minutes. It is important to add an extra 10–20 minutes to fully harden the plate.
The key points to note during the first exposure are that the shorter the time, the deeper the etch. Additionally, the longer the post-cure time, the harder the plate.
As you can see, this plate-making process is time-consuming. Additionally, it is not repeatable; there is a highly likely chance that you might have variations from one plate to another. This is caused by the experience of the person making the plates, old bulbs, the type of printer used in making the film, etc. The alternative to this method is laser plate etching.
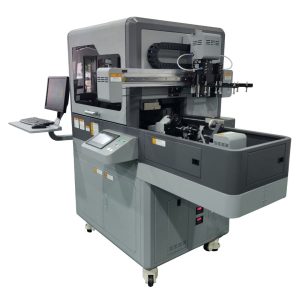
Using a laser to etch a pad printing plate
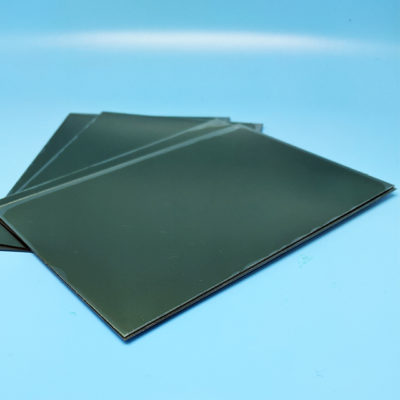
Laser etching equipment has been around for a while. In the pad printing industry, many companies are adopting this technology to make printing plates. Laser plate-making machines are not only efficient, but they are also able to deliver excellent details. Another name for laser plate-making is computer-to-plate technology. There are CO2 lasers and fiber lasers. Of the two, fiber lasers are the best for making pad printing plates. These machines deliver fine details and last for a very long time. Fiber lasers are excellent for etching both steel plates and our Electra blue plate material.
Easy setup and repeatability are other advantages to using lasers to make pad printing plates. It takes about one to 10 minutes, depending on the complexity of the artwork.
Learn more about our pad printing ink and screen printing ink lines.